
Here is a simple walkthrough to make a simple 2D shooting mechanic. Using Prefabs or Raycasts will do to make it, you can choose one of them based on what you want to achieve in your game. If you want a bullet to immediately hit the target you are aiming then maybe raycast is the best way to go. But if you want to see the bullets in the air, even for a fraction of a second, until it hits the target then using prefabs is a better way to achieve that.
Using Prefabs
We can instantiate prefabs from the fire point coming from the player and check if the instance collides with an enemy to deal damage, in this method the bullets can take a little time until it reaches the target, you can set its velocity but you cant put too fast so you dont break collision handling, also there is seconds or miliseconds that the enemy can escape the bullets.
Using Raycasts
Using this method, instead of instantiating anything, we will cast a ray (basically a line from point A to point B. Point B being where the ray hits on the collider) directly where the gun is aiming at and if the ray hits an enemy collider then we can deal damage. This mode is more precise and faster than using prefabs because you instantly get the enemy if the ray hits it at that moment.
So, I will show you how you do both of these methods, but first let’s setup the project.
Setup
I’m using Unity 2019.3.9f1. I downloaded some free assets from here for the characters.
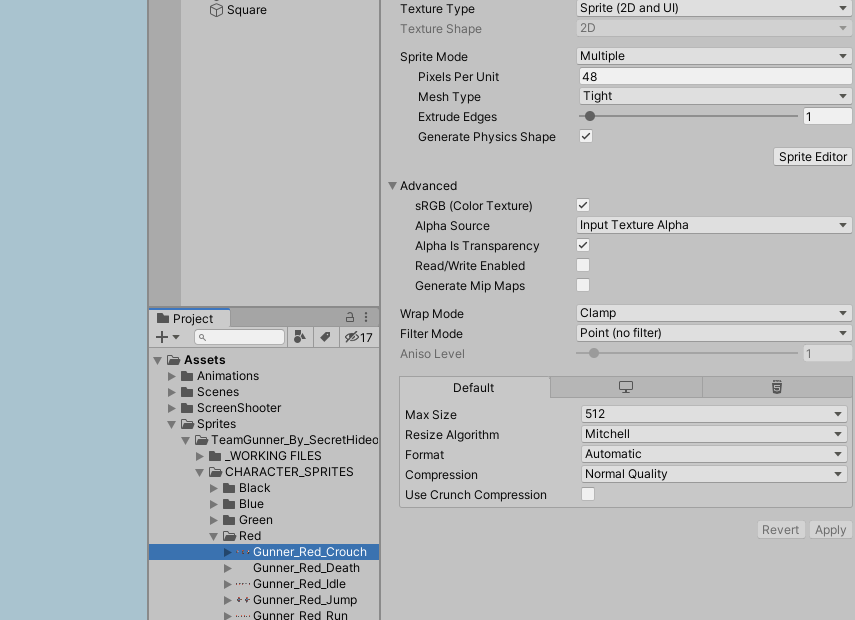
I configured the Red Character’s Spritesheets to Point on Filter Mode, Multiple on Sprite Mode and 48 pixels per unit. Split each character spritesheet to generate the frames.
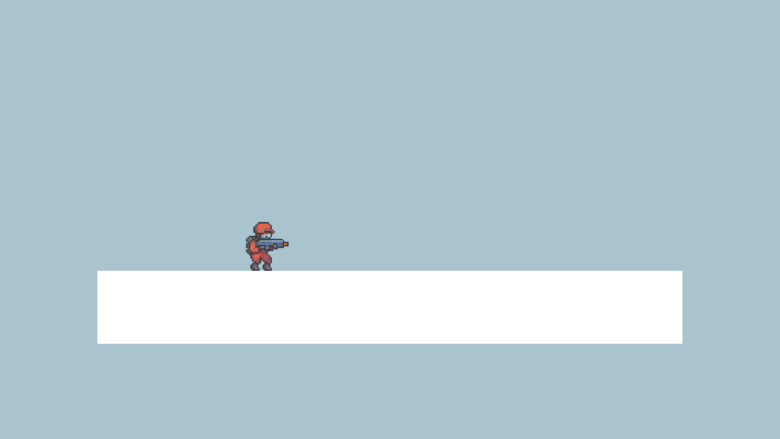
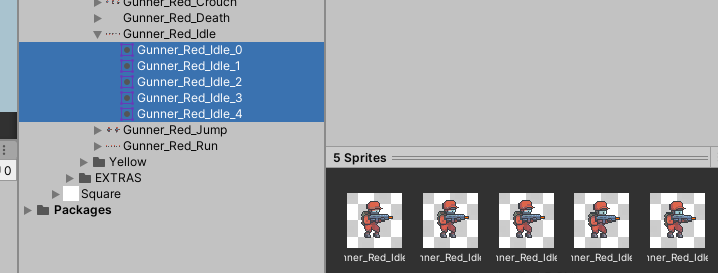
Next select all of the frames from the Idle spritesheet and drop it on the Hierarchy tab. That will create an object with a Sprite Renderer and Animator component with a default animation added to it containing the frames of the Idle spritesheet.
If you play it now you will see that it will play the Idle animation automatically.
Now, let’s create a folder called Scripts on the project tab and then create a script called Gun inside of it.
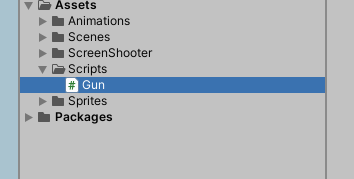
The empty Gun script:
using System.Collections;
using System.Collections.Generic;
using UnityEngine;

public class Gun : MonoBehaviour
{
    void Start()
    {

    }

    void Update()
    {

    }
}
The first thing for this script would be to check if the left mouse button is being pressed or not
void Update()
{
    if(Input.GetMouseButtonDown(0))
    {

    }
}
The method using Raycast
Create a variable called firePoint in out Gun script
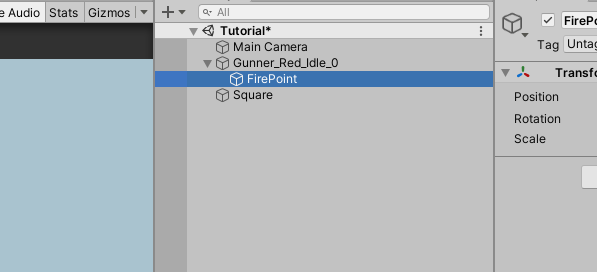
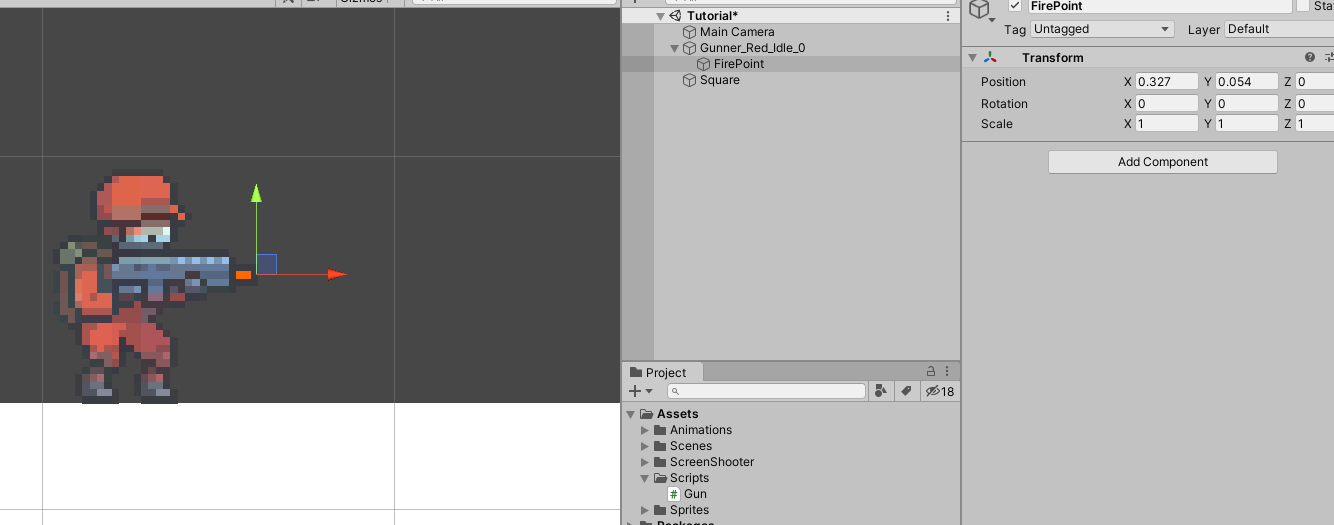
public Transform firePoint;Let’s go forward and add a child object to our sprite called FirePoint
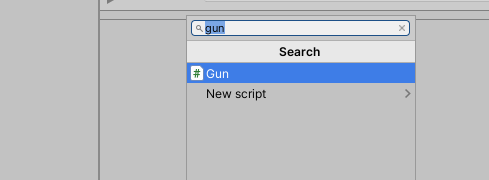
If you haven’t yet, add the Gun script to our game object
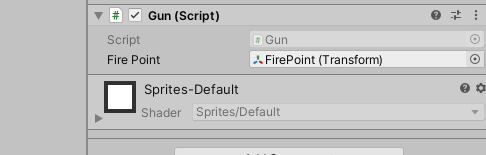
Now drag and drop the FirePoint object to the Fire Point field on the Gun script’s inspector
Now you can adjust the position of the FirePoint object
Going back to our script, let’s add a function called Shoot and raycast based on out firePoint object positon and direction
void Update()
{
    if(Input.GetMouseButtonDown(0))
    {
        Shoot();
    }
}

void Shoot()
{
    RaycastHit2D hit = Physics2D.Raycast(firePoint.position, firePoint.right);
    if(hit) // If this is true then it hits something
    {

    }
}
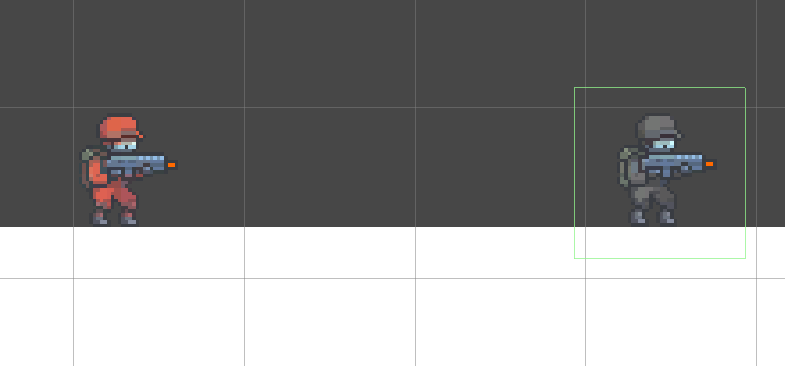
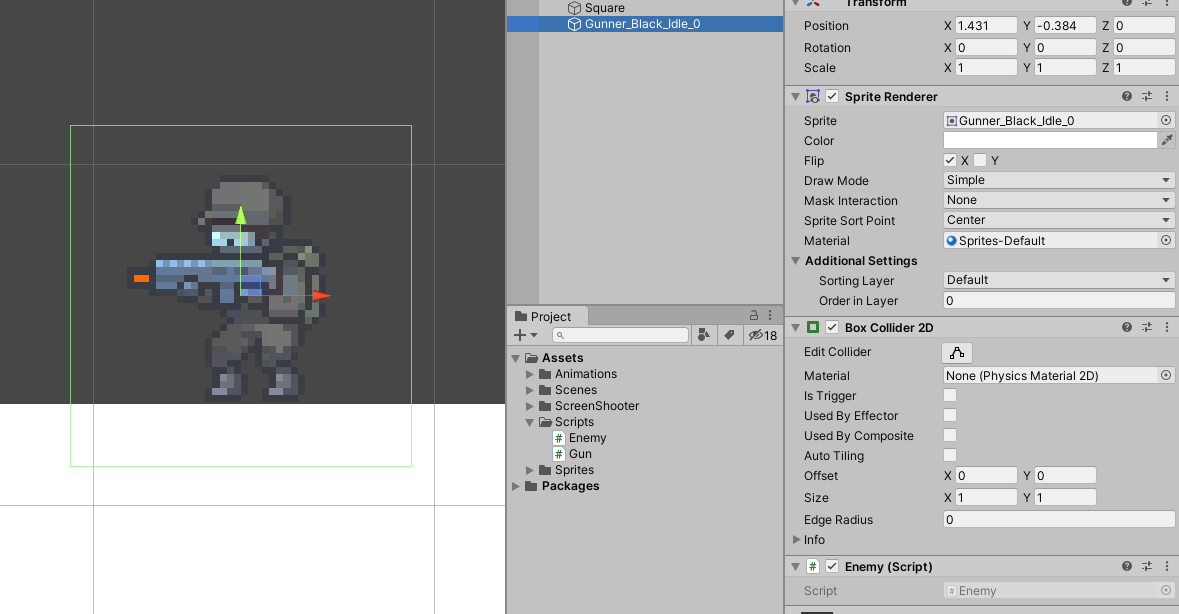
Now let’s place another character in the scene, with a BoxCollider2D component, it doesn’t have to be animated

Notice that he is looking the same direction as our character, let’s change that
Mark this checkbox on his SpriteRenderer component at the inspector
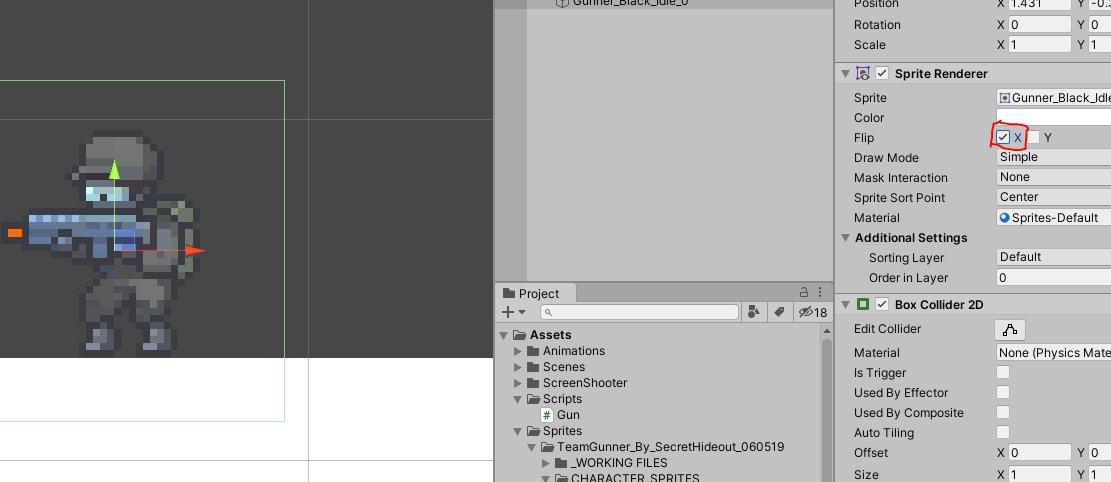
Now that they are looking to each other let’s Log when our raycast hits something in the scene
void Shoot()
{
RaycastHit2D hit = Physics2D.Raycast(firePoint.position, firePoint.right);
if(hit) // If this is true then it hits something
{
Debug.Log("Hit " + hit.collider.gameObject);
}
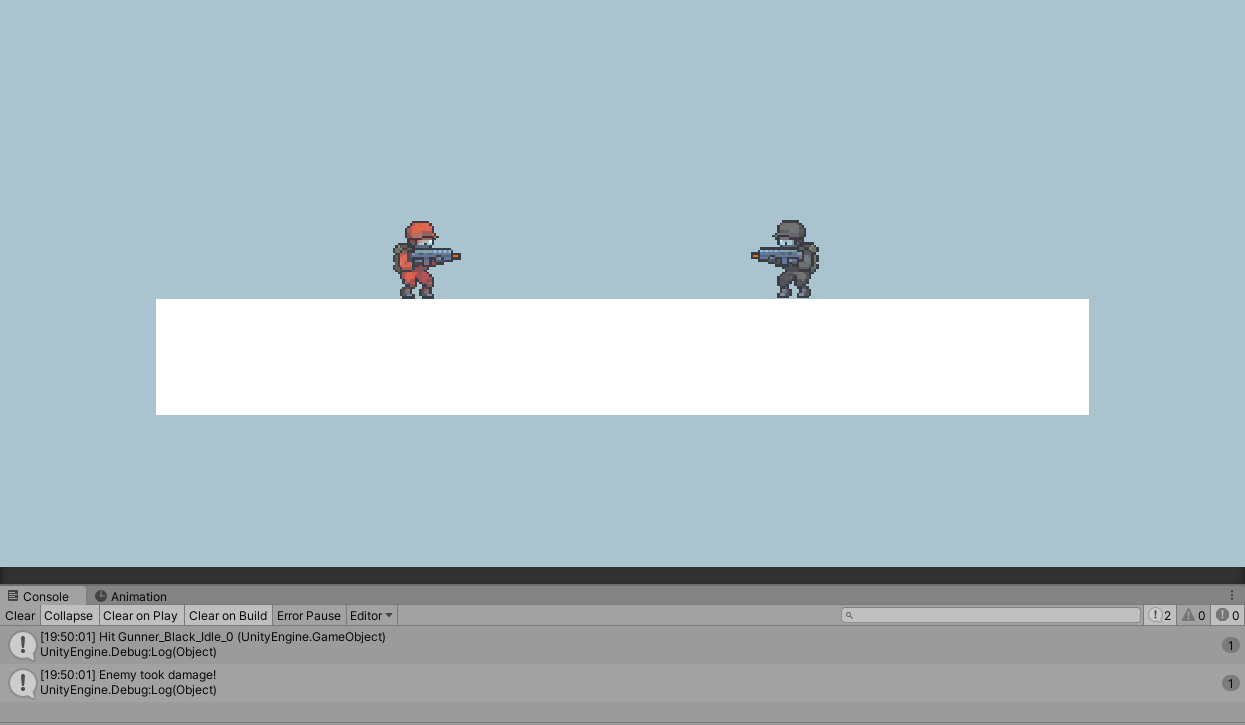
}Here i’m logging the gameObject of the collider the ray is hitting. Click play on the editor, click the left mouse button and check out the Console tab!
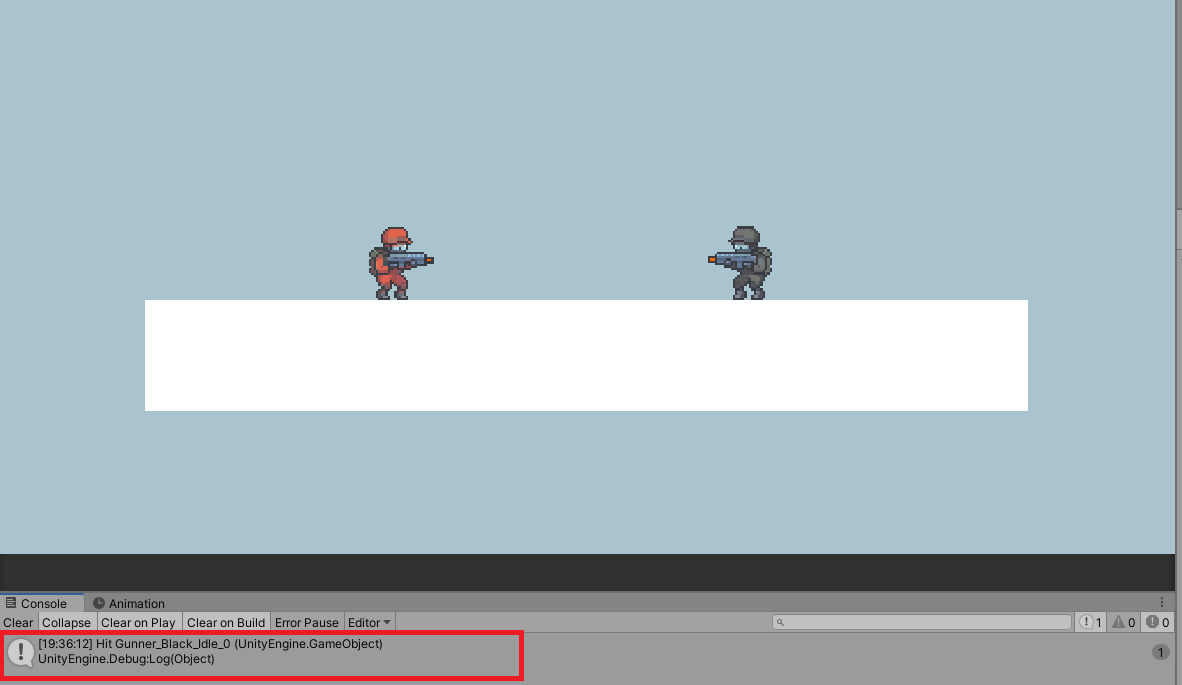
You can see that the raycast is working and we are hitting the black character’s box collider.
Now create an Enemy script and add it to our black character.
Then create a function called GetDamage so we can call when we hit an enemy. Everytime we hit it we can decrease from a health variable and log it.
using System.Collections;
using System.Collections.Generic;
using UnityEngine;

public class Enemy : MonoBehaviour
{
    public float health = 10;

    public void GetDamage()
    {
        health--;
        Debug.Log("Enemy took damage!");
    }
}
Back to out Shoot function in the Gun script, let’s try to get the Enemy component from the object we hit, and check if it exists before calling the GetDamage function (this is because we maybe hit another object and it doesn’t have an Enemy component)
void Shoot()
{
RaycastHit2D hit = Physics2D.Raycast(firePoint.position, firePoint.right);
if(hit) // If this is true then it hits something
{
Debug.Log("Hit " + hit.collider.gameObject);
Enemy enemy = hit.collider.gameObject.GetComponent<Enemy>();
if(enemy != null)
{
enemy.GetDamage();
}
}
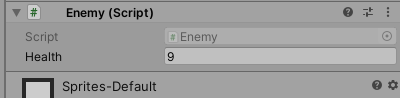
}Alright, now let’s checkout if that works.
It is logging correctly and our enemy is taking damage!
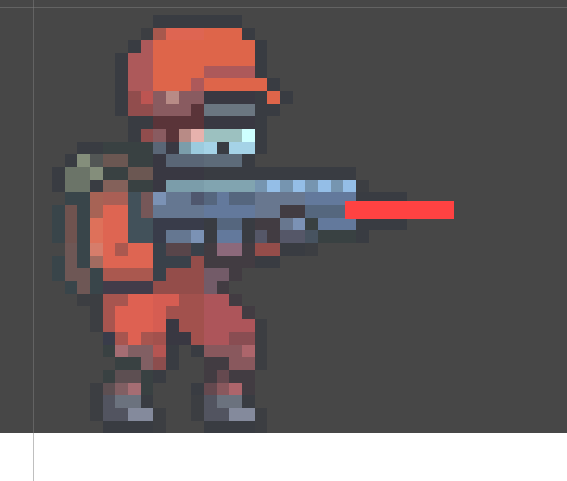
Now I created a very simple (and almost dumb) muzzle flash to represent the visual effect of a bullet coming out of the gun.
You can place it at the same position as the FirePoint as it will play when we shoot the bullet. Let’s create a variable for this Particle System on our Gun script.
public ParticleSystem muzzleFlashVfx;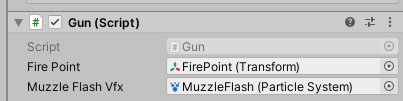
We don’t necessarily need to cast a ray on anything to shoot, we can still play the visual effect even if we don’t hit anything because clicking the left mouse button will always execute the Shoot function.
void Shoot()
{
    muzzleFlashVfx.Play(); //Play the effect here

    RaycastHit2D hit = Physics2D.Raycast(firePoint.position, firePoint.right);
    if(hit) // If this is true then it hits something
    {
        Debug.Log("Hit " + hit.collider.gameObject);

        Enemy enemy = hit.collider.gameObject.GetComponent<Enemy>();
        if(enemy != null)
        {
            enemy.GetDamage();
        }
    }
}
Now it’s time to create a Bullet prefab to spawn, this will also serve well to when we use the prefab to deal damage on the enemies, not through the ray that is being cast.
Create a new Game Object on the scene, attach a Sprite Renderer with a Square texture on it, and also a Box Collider 2D. This will be a very small object to represent the bullets.
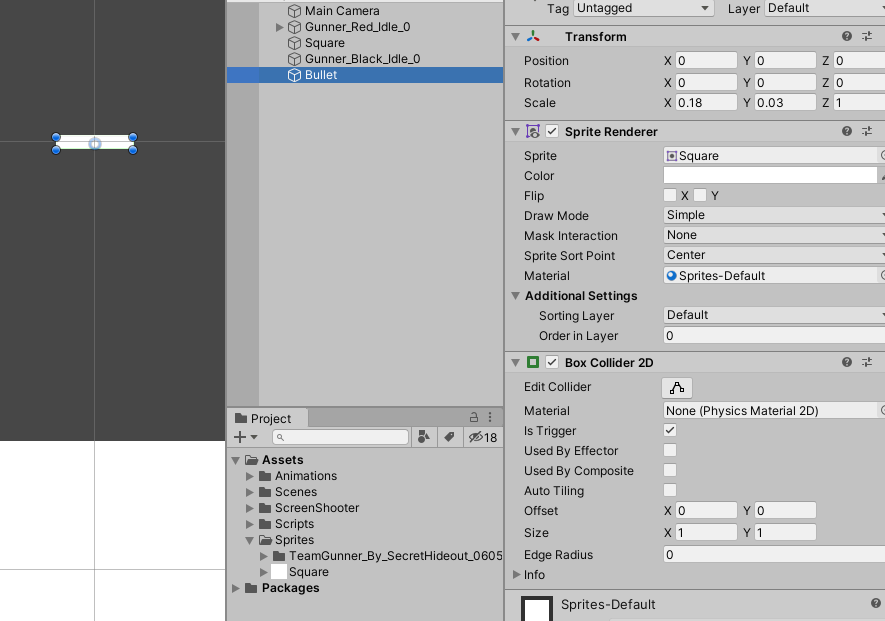
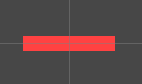
Let’s make it red to see it better on the screen
Now drag and drop it on the Project tab to create a new prefab from it
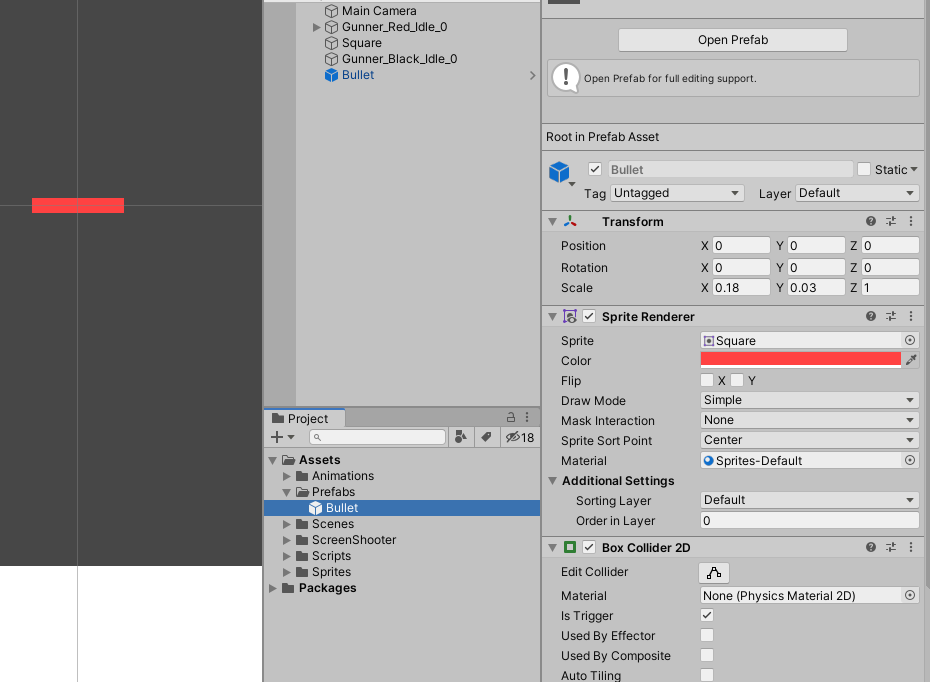
Now you can delete the object from the hierarchy because we will use it’s prefab instead.
Let’s go ahead and create a variable on our Gun script called bulletPrefab.
public GameObject bulletPrefab;On our Shoot function let’s instantiate the bullet right at the FirePoint position.
...
muzzleFlashVfx.Play();
GameObject bulletInstance = Instantiate(bulletPrefab, firePoint.position, Quaternion.identity);
...
We will instantiate it at the FirePoint positon and with a default rotation, that’s what the Quaternion.identity means.
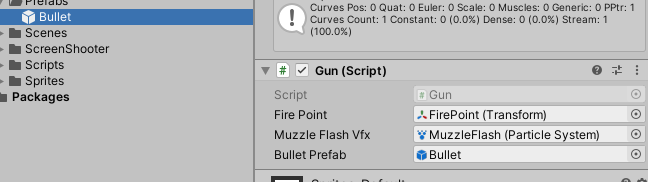
Now drag and drop the prefab there on the Bullet Prefab field.
But you can notice that the bullet ohly spawns there and stay still, because it isn’t doing anything right now, let’s add an script to it.
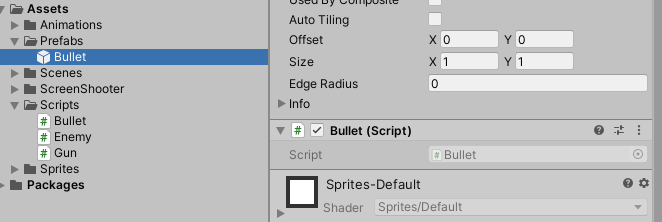
The Bullet script will make the bullet goes forward based on where it was instantiated and also be useful for us when we do the checking through the bullet for dealing damage.
So right now the Bullet script looks like this:
using System.Collections;
using System.Collections.Generic;
using UnityEngine;
public class Bullet : MonoBehaviour
{
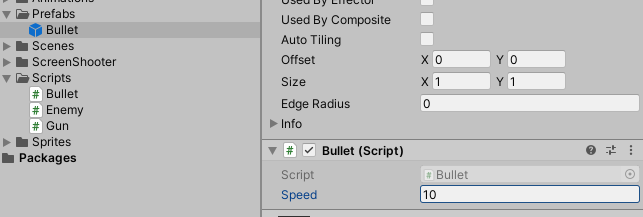
public float speed = 15.0f;
void Update()
{
transform.position += transform.right * Time.deltaTime * speed;
}
}It’s just a simple script that will move the transform on the right vector based on a speed variable.
If we test now, we will see that now the bullet is being spawned and it is moving forward, but it is kinda slow and also it is going through our enemy. Let’s fix that!
First of all, the raycast is being checked almost instantly so we should move this bullet a little faster, also we should be able to check for when the bullet hits the enemy it gets destroyed.
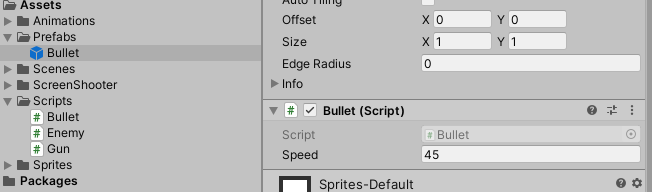
Let’s change the bullet prefab’s script to 45.
And we should add a Rigidbody2D component to our enemy
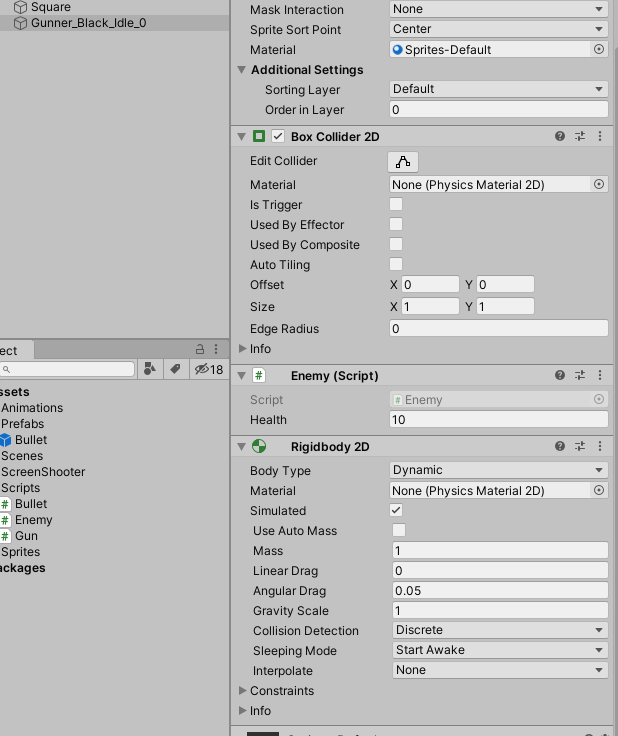
That is because, to check for a collision or a trigger one of the objects colliding should have a Rigidbody component, otherwise it won’t check for a collision, so our bullet should have a collider component and also be marked as trigger:
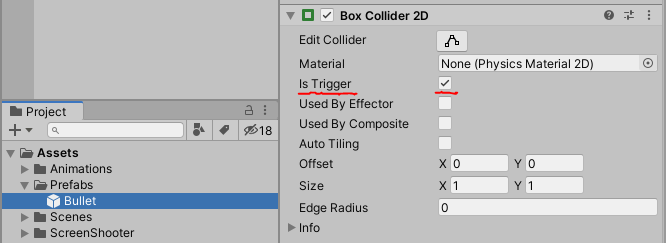
We want it to be a trigger collider because we don’t want the bullet pushing the enemy backwards through the collision impact, we just want to check when the bullet collides with the enemy.
Now to the Bullet script, let’s add the MonoBehaviour built-in function OnTriggerEnter2D. That will be called when our bullet hits any collider (that has a rigidbody) in the scene.
private void OnTriggerEnter2D(Collider2D collision)
{
    // Process the collision here
}
So there is more than one way to do this, you can check for tags, or check for the collider’s game object layer, etc. But, you can also assign layers to your objects and filter it through the Layer Collision Matrix on the Project Settings’s Physics 2D.
Let’s first create the layers:
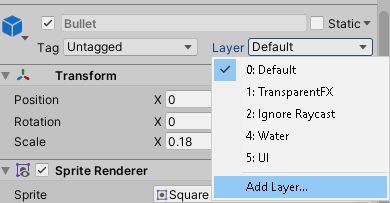
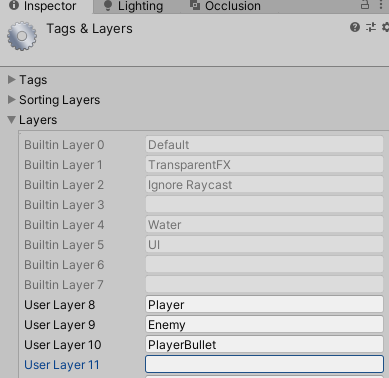
Now assign the Player layer to our character, the Enemy layer to the enemy object and the PlayerBullet to our bullet prefab. Next, you can go to Edit -> Project Settings -> Physics 2D. There you will find at the bottom of the tab window the Layer Collision Matrix.
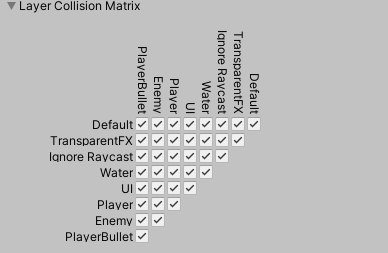
This determines whether some colliders with certain layers should check for collision with other colliders. Let’s uncheck the collision of our PlayerBullet layer with everything except the Enemy layer.
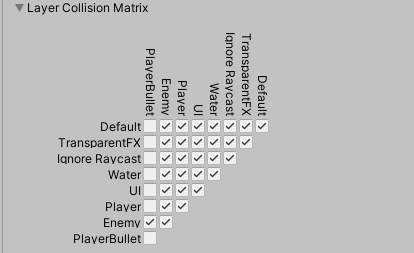
That means that ANY object that CONTAINS A COLLIDER (be it a trigger one or not) that has the PlayerBullet layer assigned to it, should only process and check collision with other objects (with colliders) that have the Enemy layer assigned to them. This way our bullet will only call the OnTriggerEnter2D function when it hits an enemy, so we really don’t need to check it’s tag or layer, we know for sure that if it collides with anything it will be the enemy.
private void OnTriggerEnter2D(Collider2D collision)
{
    Debug.Log("Bullet hit enemy!");

    gameObject.SetActive(false);
    Destroy(gameObject, 2.0f);
}
We will disable our bullet immediately after hitting the enemy and destroying the bullet after a couple of seconds.

We can see that the bullet disappears as soons as it hits the enemy. You can also check that if we disable our enemy from the scene the bullet keeps going because it doesn’t hit any enemies.

Now after all this, it is very easy to make our bullet deals damage to the enemy after touching them instead of using raycasts.
The method using Prefabs
Well we have everything pretty much ready for that. First things first, let’s comment out the piece of code from our Shoot function from the Gun script that casts a ray.
void Shoot()
{
    muzzleFlashVfx.Play();
    GameObject bulletInstance = Instantiate(bulletPrefab, firePoint.position, Quaternion.identity);

    //RaycastHit2D hit = Physics2D.Raycast(firePoint.position, firePoint.right);
    //if(hit) // If this is true then it hits something
    //{
    //    Debug.Log("Hit " + hit.collider.gameObject);

    //    Enemy enemy = hit.collider.gameObject.GetComponent<Enemy>();
    //    if(enemy != null)
    //    {
    //        enemy.GetDamage();
    //    }
    //}
}
Next, go to the Bullet script on the OnCollisionEnter2D function and let’s get the Enemy component from the collider the Bullet is hitting at the moment, the same way the raycast did but now it doesn’t happen at the same time as we click the mouse button, this way we can have a bullet that travels way lower through the space and it only deals damage when it hits our enemy.
private void OnTriggerEnter2D(Collider2D collision)
{
    Debug.Log("Bullet hit enemy!");

    // The new piece added
    Enemy enemy = collision.gameObject.GetComponent<Enemy>();
    if (enemy != null)
    {
        enemy.GetDamage();
    }

    gameObject.SetActive(false);
    Destroy(gameObject, 2.0f);
}
You can see that it will work the same way as before, but right now our bullet is too fast, let’s decrease it’s speed so we can see it better that it only deals damage when it hits the enemy.
This is a good method because if the bullets are coming from the enemy, using it like this gives the player the ability to dodge the bullets and also maybe miss some bullets when the enemies are too far away and they move away from your bullets, so I think it really depends on what you are doing. If you are tring to make a laser bullet for example, of course the raycast method will be better because it instantly detects a colliders no matter what the distance is from the player.
So that pretty much sums it all up! This is the first time I do a tutorial about anything so I apologize for any bad quality gifs/screenshots or any typos or mistyped words.
The project is available here on Github.
Leave any comments below!

