

Well would you look at that! Another year+ since my last tutorial! If I keep up this rythm I can publish around 7 more tutorials ’till the end of the decade!
Hahah
Jokes aside, around 5-6 months ago I was porting some shaders to Shader Graph and wanted to make GPU Instancing (using Graphics.DrawMeshInstancedIndirect) for both URP and HDRP. Then I started by remaking the instancing example unity has here.
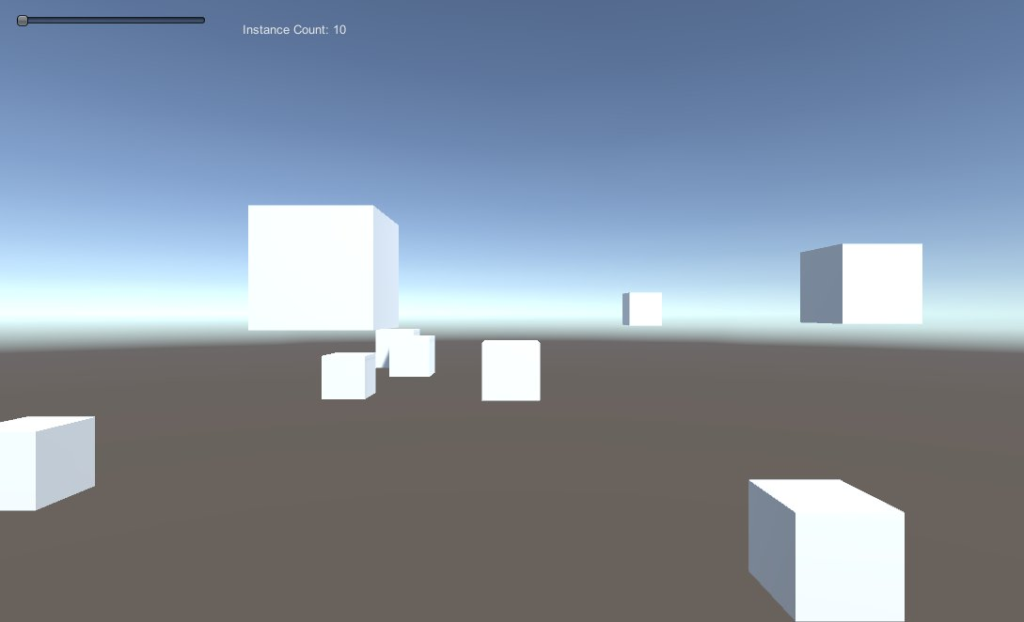
Let’s make something similar to that except we are going to apply rotations for each object specifically instead of making a ring of cubes with different sizes like in unity’s example.
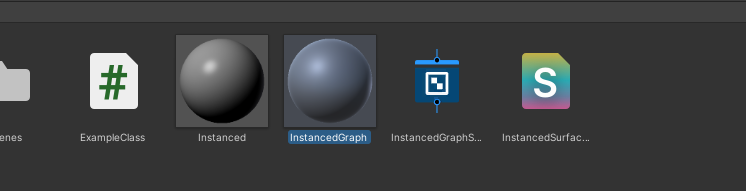
You can grab the ExampleClass and InstancedSurfaceShader from the example. I will be using both.
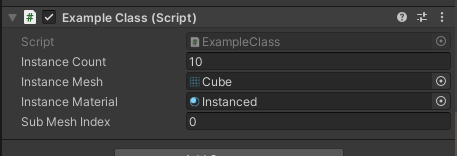
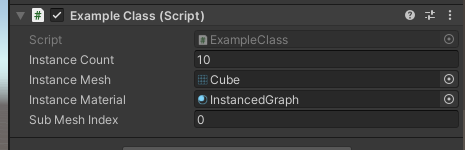
Add it to any game object and create a material using the InstancedSurfaceShader to assign through the inspector. You can also set the instance mesh to use the default Cube.
NOTE: I’m not gonna explain in deep detail what Compute Shaders, Compute Buffers are or exactly what the concept of Instancing is, this tutorial will help if you already have some familiarity with the concept and already did something similar but have not done it using Shader Graph for URP or HDRP.
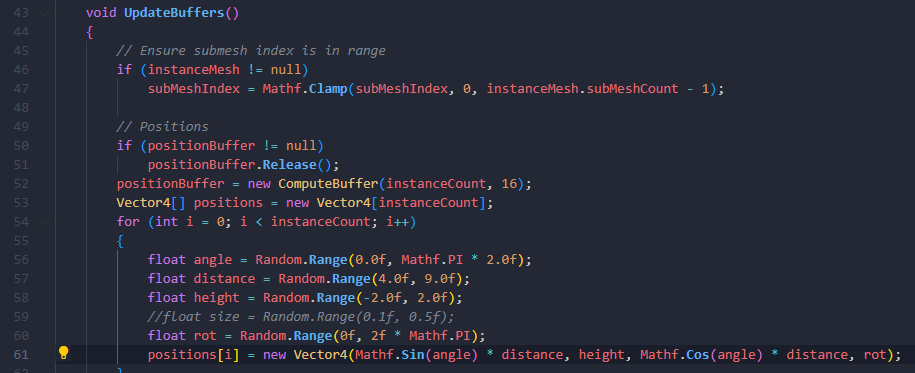
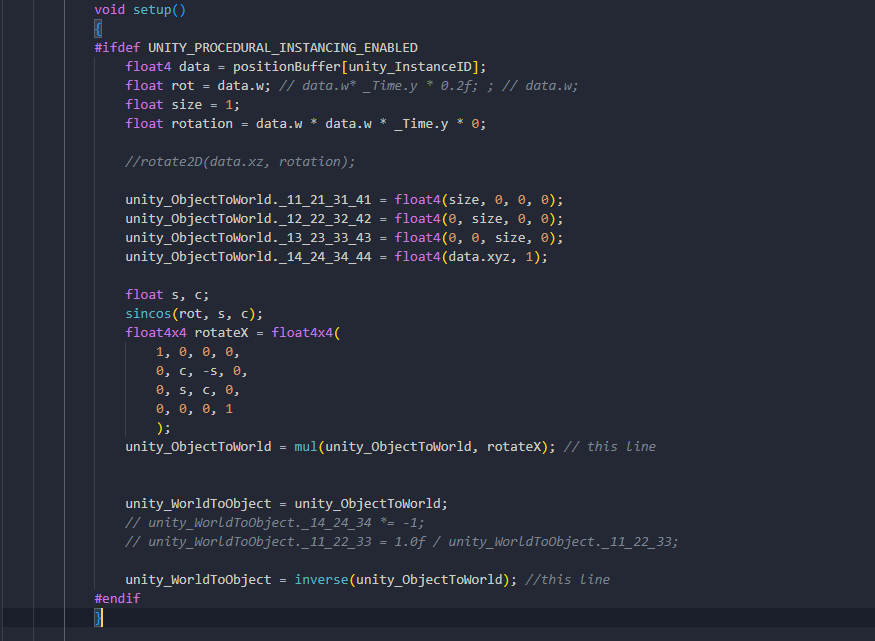
We will start by modifying how rotations are handled, so let’s change this:
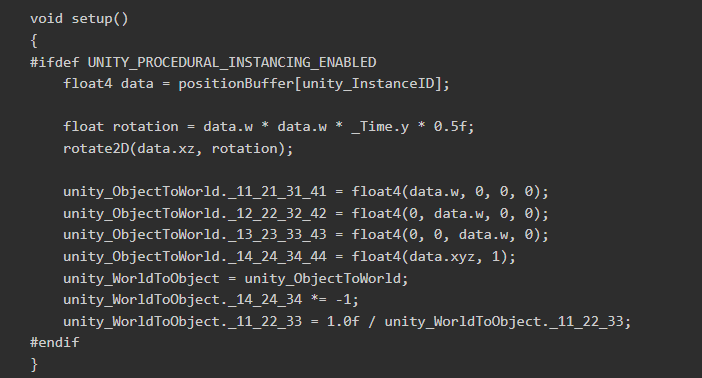
To this:
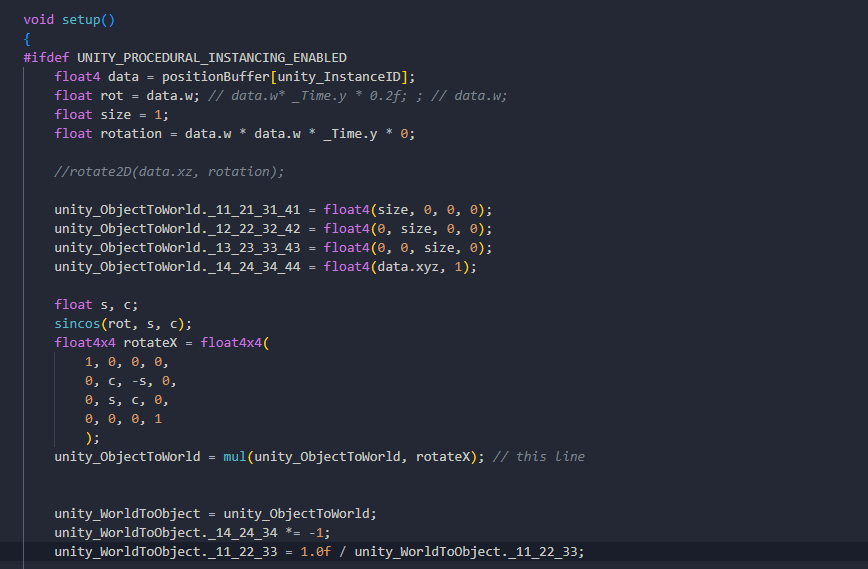
We are not going to use the rotate2d method anymore. Let’s keep the size at a fixed 1 and we will use the data.w field for the rotation of the X axis of the cubes.
We also need to change the code to send a random rotation on the data field instead of the size.
Now comes an interesting part: When testing applying different rotations through the shader I noticed how WRONG the lighting/shadows looked.
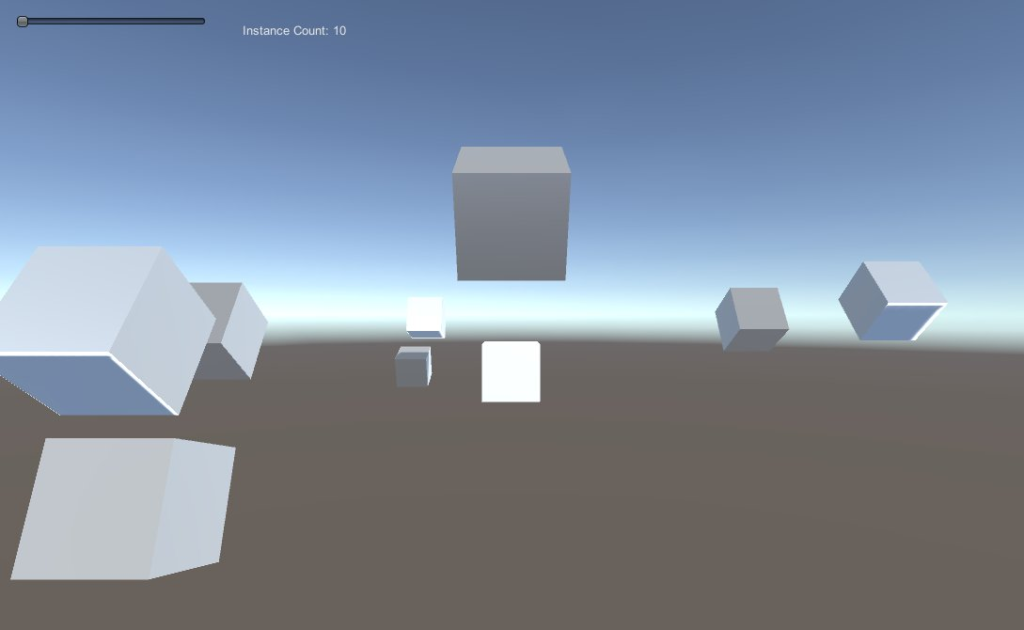
Some were lighted in some faces and other weren’t but generally they were weird.
So thanks to the collective knowledge of the singularity that Unity Forums is I found out why from this post.
Unity’s example does a hack to inverse the matrix on the shader, but it doesn’t work in the general case.

So you need this matrix inverse function to use instead of the hack.
float4x4 inverse(float4x4 input)
{
#define minor(a,b,c) determinant(float3x3(input.a, input.b, input.c))

    float4x4 cofactors = float4x4(
        minor(_22_23_24, _32_33_34, _42_43_44),
        -minor(_21_23_24, _31_33_34, _41_43_44),
        minor(_21_22_24, _31_32_34, _41_42_44),
        -minor(_21_22_23, _31_32_33, _41_42_43),

        -minor(_12_13_14, _32_33_34, _42_43_44),
        minor(_11_13_14, _31_33_34, _41_43_44),
        -minor(_11_12_14, _31_32_34, _41_42_44),
        minor(_11_12_13, _31_32_33, _41_42_43),

        minor(_12_13_14, _22_23_24, _42_43_44),
        -minor(_11_13_14, _21_23_24, _41_43_44),
        minor(_11_12_14, _21_22_24, _41_42_44),
        -minor(_11_12_13, _21_22_23, _41_42_43),

        -minor(_12_13_14, _22_23_24, _32_33_34),
        minor(_11_13_14, _21_23_24, _31_33_34),
        -minor(_11_12_14, _21_22_24, _31_32_34),
        minor(_11_12_13, _21_22_23, _31_32_33)
        );
#undef minor
    return transpose(cofactors) / determinant(input);
}
Then modify the shader here:

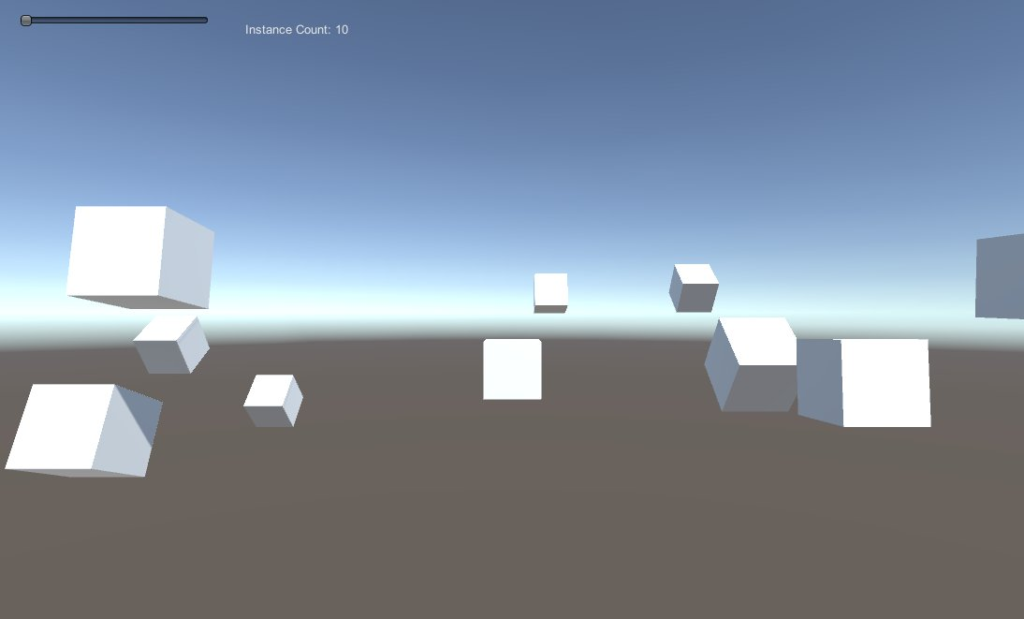
Now this will give us the right results for lighting:
And this fix is basically the thread I made here on twitter a 3 months ago. But now that that’s fixed, let’s move on to what matters: URP/HDRP + Instancing.
First install Shader Graph. It also supports built-in renderer so nothing will spam errors while we don’t change the pipeline.

Let’s start by recreating the shader we already have but with Shader Graph with built-in renderer.
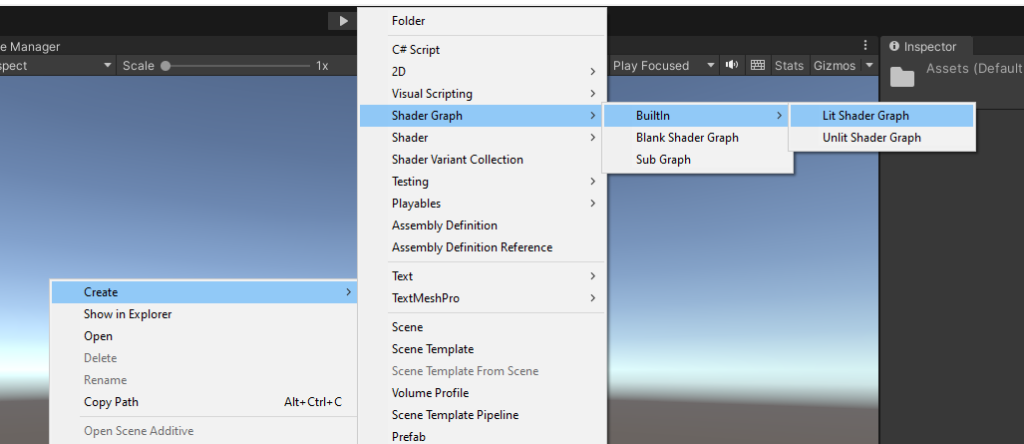
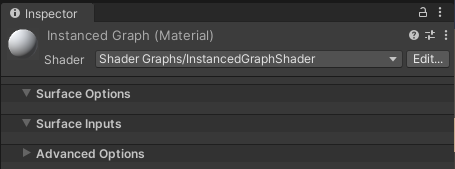
Let’s name it InstancedGraphShader and also create a material called InstancedGraph and set the shader to the Shader Graph we created under Shader Graphs/InstancedGraphShader.
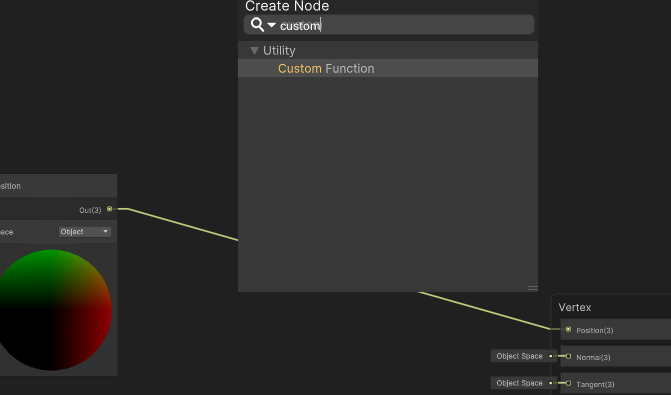
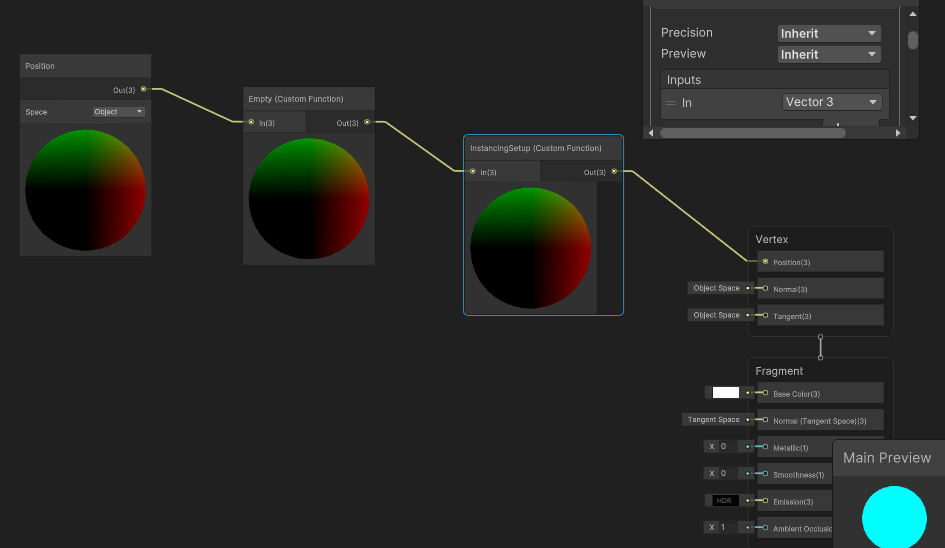
Change the Base Color to white and create node Position
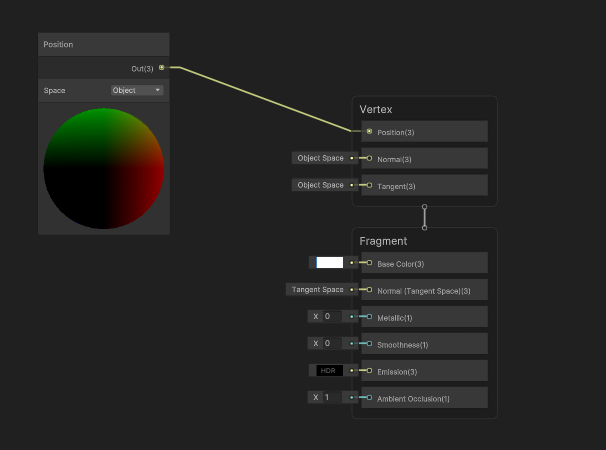
We are going to put 2 nodes of custom functions between the Position node and the Vertex area. One will load a hlsl file which will be used to configure the procedural instances and the other will set the procedural method.
Create a file called Procedural.hlsl and start by placing our structured buffer of positions that the script is already sending to the shader
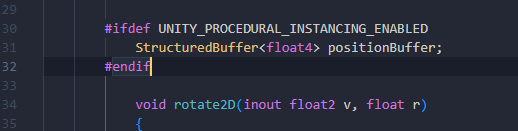
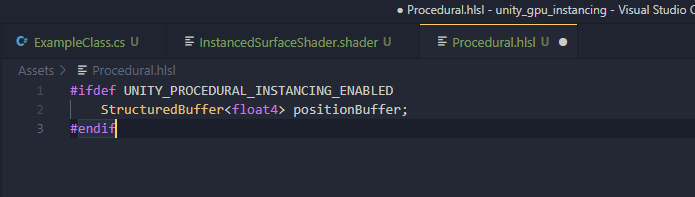
Alongside the buffer we can grab the inverse method I previously mentioned and the setup method from the standard surface shader.
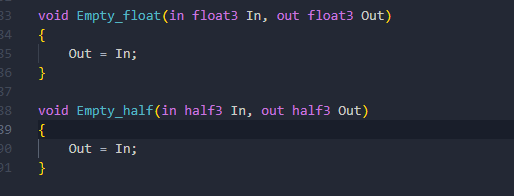
Now a couple extra methods we need is because the custom function node must have a method for input and output of a value. Since we want the Position node to connect at the Position attribute of the Vertex area, which is a float3, we can simply create 2 methods for both float and half types so we keep passing the Position node forward while we declare our setup method and structured buffer.
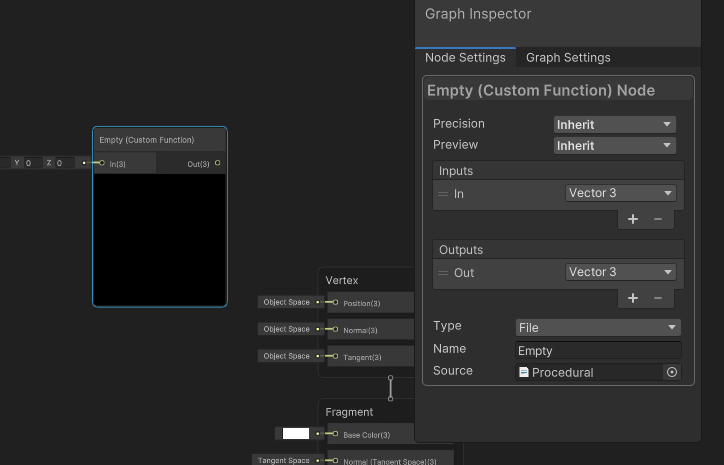
Create a custom function node and assign the hlsl file:
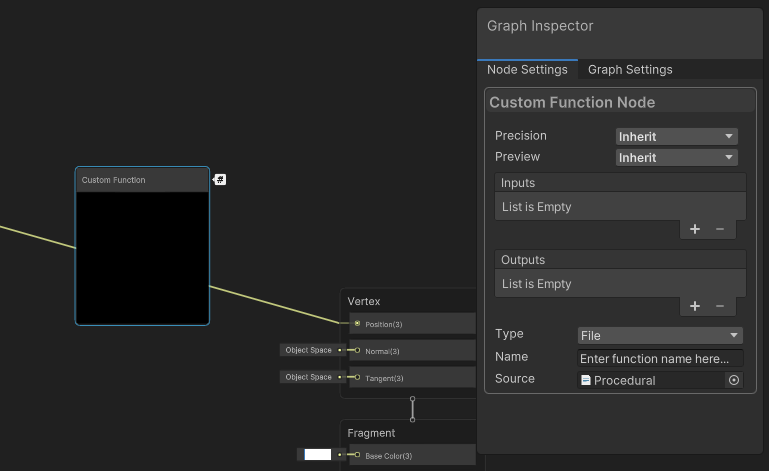
Also add a float3 (Vector3) item to the Inputs and Outputs called In and Out which represents the parameters of the Empty method. On the Name field write the name of our method that receives the input/output of type float3/half3 which is called Empty.
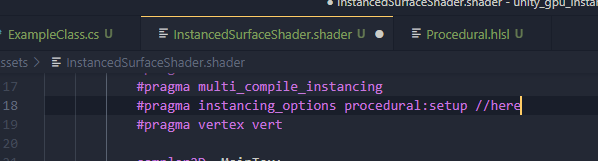
Now simply connecting the Position node to the custom function node and then on the Position attribute of the Vertex won’t do anything because we need to set the instancing_options to indicate the setup method will run for reach instance of our procedural material. Just like it is declared in the instanced surface shader:
Create ANOTHER custom function node, but this time we won’t need to assign any file. I mean, if you want to create a file just for this declaration is fine but I will just make it with the type String.
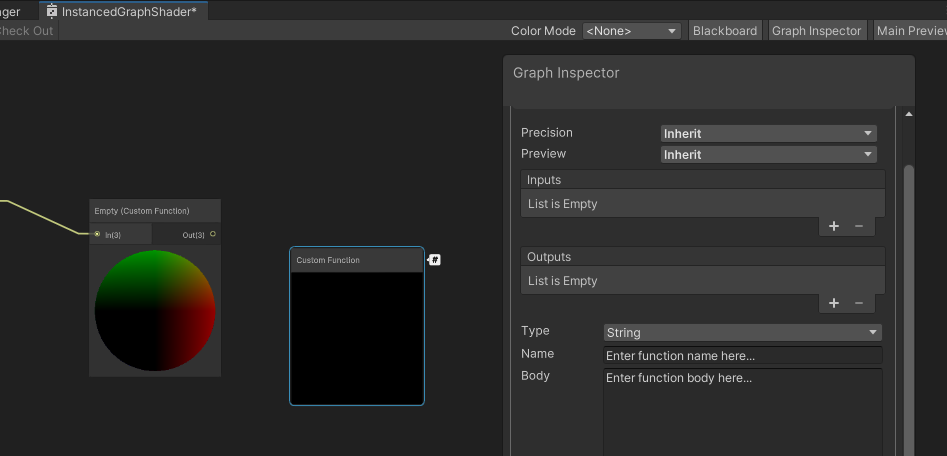
Now we can add Inputs/Outputs just like previously, but this time we only declare the instancing_options and 1 line to set the output (float3) to be the same as the input.
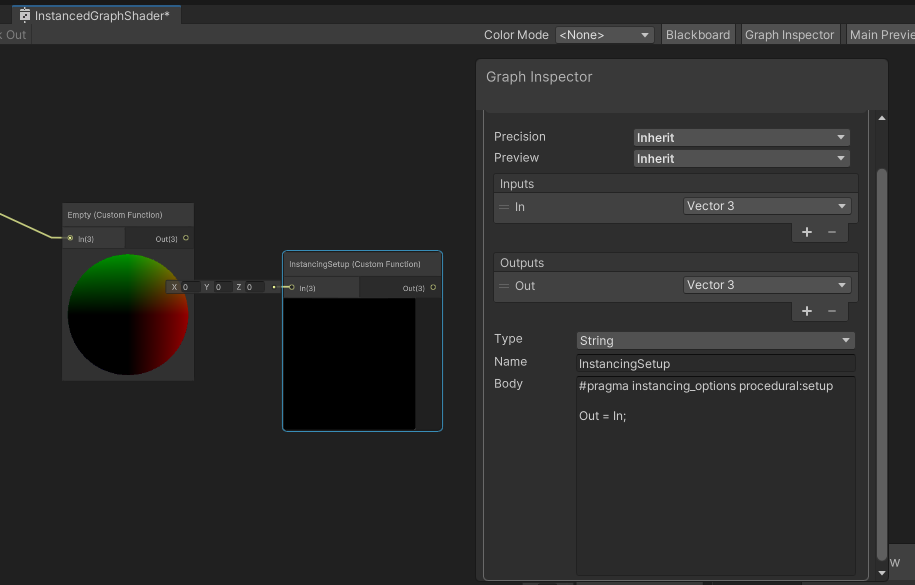
I named my function InstancingSetup. You can grab the code here:
#pragma instancing_options procedural:setup

Out = In;
Now we declared the procedural method to be our setup method. Connect the Empty function on the InstancingSetup function and then finally on the Position attribute of the Vertex area.
Don’t forget to create the URP Asset/HDRP Asset to assign in Project Settings -> Graphics

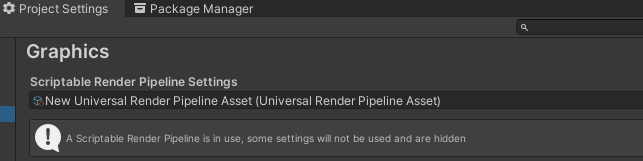
In this case I created an URP asset by going Right Click at the Assets folder and Create -> Rendering -> URP Asset (with Universal Renderer)
Now change the material used in the ExampleClass script through the inspector to use our InstancedGraph material
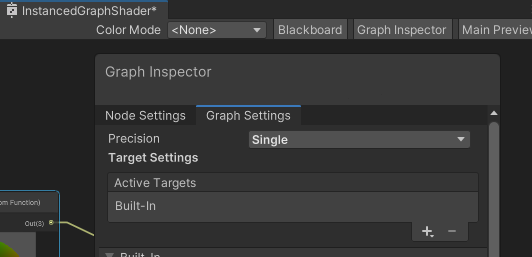
Before we test it, if you check the Target Settings on Graph Settings from our Shader Graph window you’ll see that we have been creating a shader for built-in renderer. But we want for Universal (in this case).
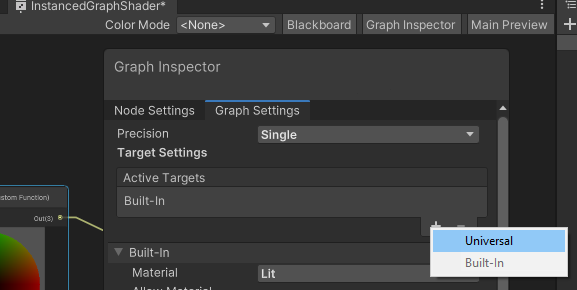
Add a new target on the + button. Select Universal.
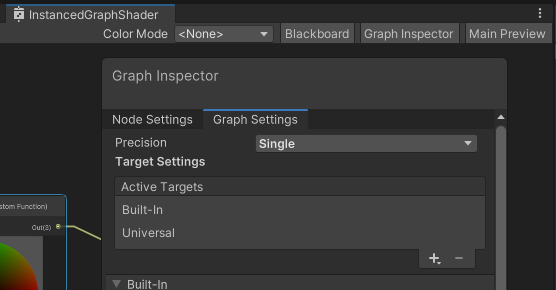
You can save the asset. If you want to remove the Built-In target go ahead, but it doesn’t change much since we are using the URP asset so it will be used for the Universal Renderer.
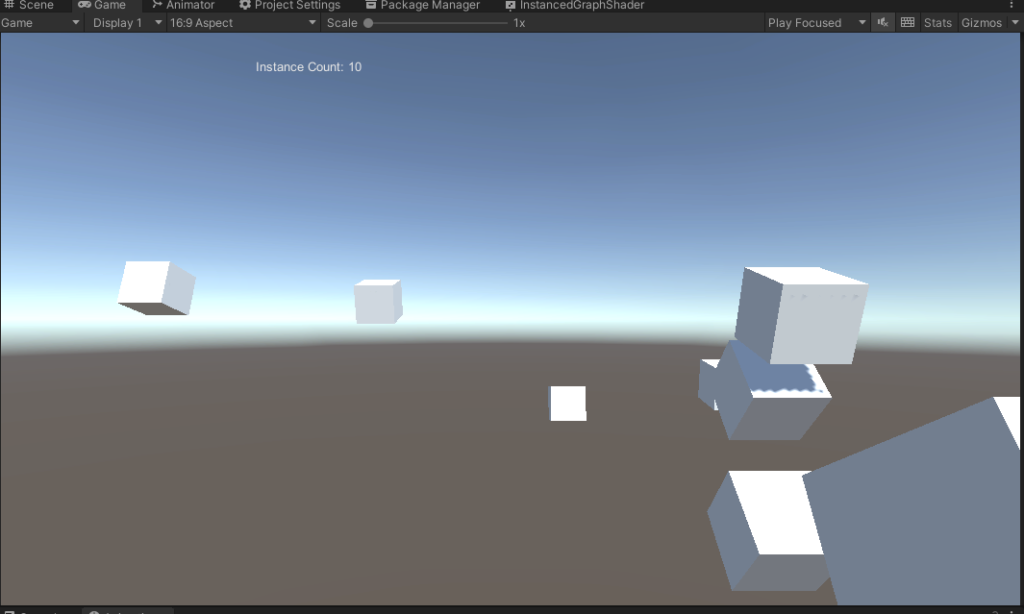
Now play it!
You can do the same for HDRP. Just remember to add it as a target on the Shader Graph after you switch your pipeline.
As of today (25 Sept, 2022 while I was editing this) this method (instancing through Shader Graph) doesn’t seem to work for the built-in pipeline as an active target. I’m not sure why.
Since you can just use a surface shader for the built-in this isn’t really a problem but it would be nice to have 1 shader graph for the 3 main targets. Just saying 🙂
Here is the full source code and Unity project.

